Buoyancy and Trimming
Optimize water position and air consumption
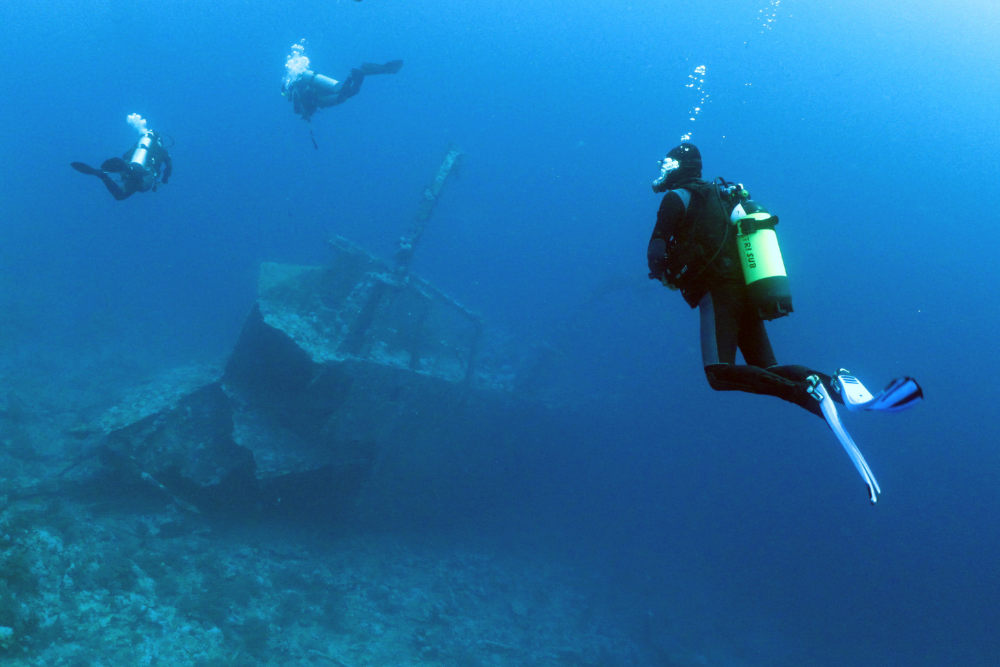
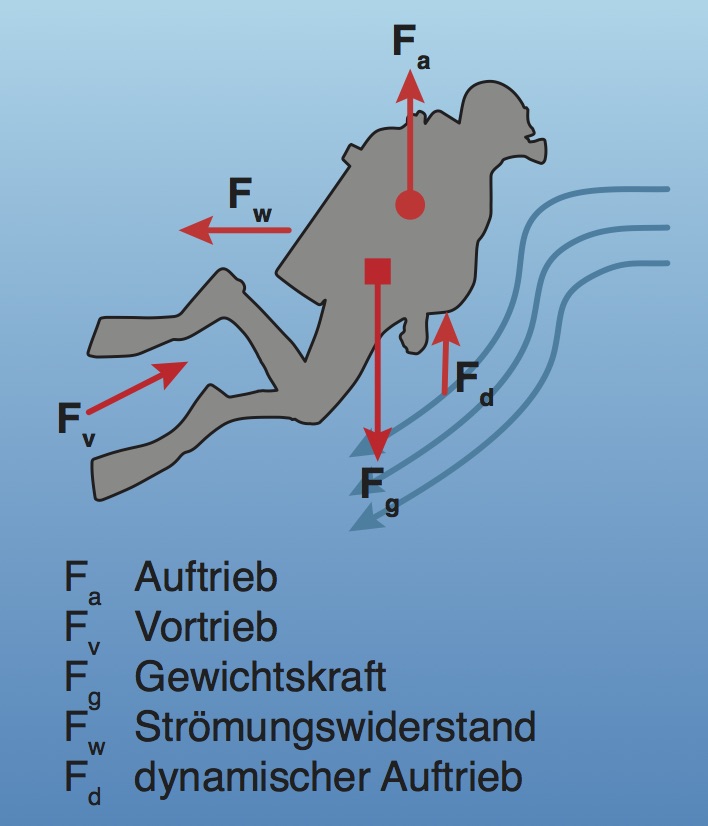
Experienced divers can float motionless in the water, swim in a horizontal position and do not stir up sediment. This not only looks cool, but also has the lowest flow resistance and air consumption. You too can find your way to perfect weightlessness under water.
Buoyancy
Taring means adjusting a diver's mass and volume so that weight and buoyancy cancel each other out and the diver is neutrally buoyant at rest at the desired depth. It then floats almost weightlessly.
The amount of lead carried along mainly neutralizes the buoyancy of the diving suit. However, this is not constant, but decreases with increasing depth. In wet suits made of neoprene, the enclosed air bubbles are compressed, in dry suits the thermally insulating undergarment is compressed.
This loss of volume must be compensated for with the buoyancy compensator (buoyancy compensator, wing, dry suit). Some buoy primarily with the vest and fill the dry suit just enough so that it no longer pinches. Others appreciate the thermal insulation of the gas, especially in cold water, and tare primarily with the suit.
The bladder volume of a BCD should at least be sized to compensate for the weight of all heavy equipment (weights, backplate, cylinders, lights, camera, etc.) underwater. The buoyancy of the suit should not be counted, because neoprene loses its buoyancy at depth and a dry suit can fill up. The human body is out of the equation because, depending on its stature, it has the same or less density than water – otherwise you wouldn’t be able to swim.
Simple test: put the BC in the water with all the equipment attached. If it floats when inflated, the volume is large enough. If it doesn't float, the volume is too small.
Example: With 10 kg lead, a steel cylinder with 4 kg output and two regulators each weighing 1 kg, the buoyancy compensator should have a volume of at least 16 liters.
Tips for correct buoyancy
Buoyancy has a lot to do with breathing. In the past, when there were no buoyancy compensators, buoyancy was done exclusively with the lungs and with an active swimming movement.
Beginners tend to carry far too much lead to even dive. People often paddle unconsciously out of nervousness. Every movement generates propulsive force, which can increase the buoyancy. Therefore, when descending, keep your arms and legs still, breathe in deeply and exhale at the same time as you deflate the BC. This gives enough momentum for the descent. Then hold your breath until you have descended sufficiently.
Some beginners like to abuse the BC as a lift: air out = down. Air in = up. That's wrong. A buoyancy compensator is mainly used for neutral buoyancy. Therefore, regularly blow in small amounts of air in short bursts during the descent and not all at once when you reach the target depth. In cold water, this can cause the inflator or first stage to freeze. During the ascent, regularly release only enough air so that you are not pulled upwards. Neutral buoyancy is particularly challenging at shallow depths, as even a small difference has a big effect. A change in depth occurs primarily with the lungs, posture and the fin stroke.
The unfamiliar environment under water tends to subconsciously tempt you to breathe incorrectly, so that the lungs are always full at rest instead of being relaxed as they are above water. There is no need to carry an emergency supply of air in the lungs. As long as the demand valve is in the mouth, the next breath is only a hose length away. Breathe calmly and relaxed underwater just as you would on land. Correct breathing saves 1-2 kg of lead.
Weight Check
Determining the correct amount of lead is very individual and mainly depends on the following variables:
- Physical stature of the diver
- Thickness and texture of the suit
- BCD
- Size, capacity and material of the cylinder(s)
- Additional equipment (e.g. tank lamp)
- Salinity of the water
If any of these variables change, the amount of lead must be adjusted. Example: In the sea with 3% salinity, the amount of lead must also be increased by 3% (based on the total weight of the diver). A diver who weighs 100 kg including equipment and needs 6 kg of lead in fresh water needs about 3 kg more in the sea with the same equipment.
The correct amount of lead can be determined with the following checks:
- Start of dive: On the surface, vest empty, dry suit deflated, vertical posture with no movement. When the lungs are full, the waterline extends to about the nose, when the lungs are half full to the eyes. When your lungs are empty, you descend slowly. Once the amount of lead has been determined, add 2 kg per cylinder to compensate for the loss of air.
- End of dive: Safety stop at 3m, cylinder at 50 bar, BCD and dry suit empty. With half full lungs you stay in position. As you inhale, you begin to rise.
The second test is the more important one, so that at the end of a dive the safety stop can be observed in any case, even with 50 bar and less in the cylinder. If you still have air in your vest or suit, you can drop some weight. If you can't keep the depth, you need something more.
Example: Air has a density of 1.2 kg/m3 at sea level at 20 °C. An 80 cuft (11.1 litre) cylinder filled at 200 bar contains 2.66 kg of air. At the end of the dive at 50 bar, it only contains a quarter of the air, so it is 2 kg lighter.
Why is it important to determine the exact amount of lead? A few kilograms can easily be compensated with the buoyancy compensator. This brings us to the next topic:

Trim
Trimming (also trim) refers to the alignment of a body in the desired position. In the case of divers, this is achieved by correctly positioning the buoyancy aid and the weights so that ideally the center of mass (centre of gravity) is congruent with the center of volume (geometrical center of gravity), so that a relaxed, horizontal swimming position is possible.
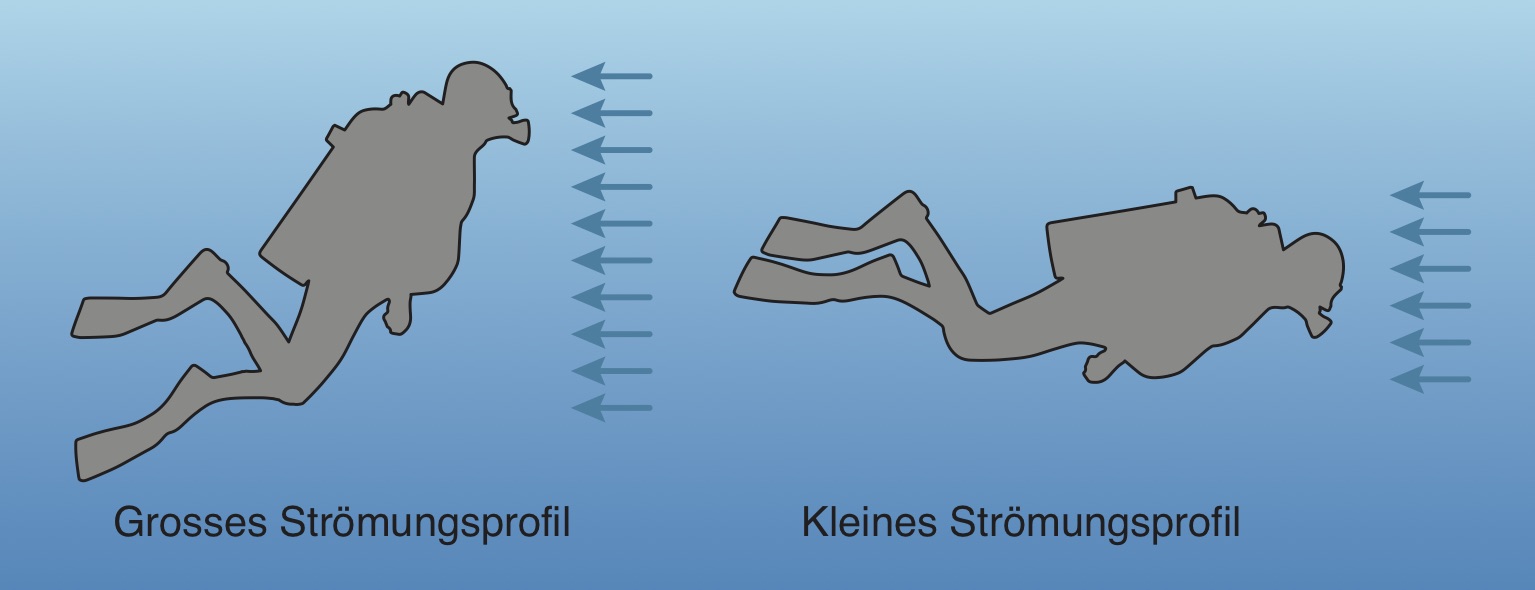
Every diver at a popular holiday destination has certainly had this picture in front of them: A group of inexperienced divers pedals through the reef with their hands and feet in a seahorse position, pulling a curtain of air bubbles behind them. In front the guide in a horizontal position, leisurely doing a few fin kicks.
The seahorse posture typical of beginners is usually an indication that too many weights are hanging around the waist and the BCD is overinflated. This results in a torque that pulls the legs down and straightens the upper body. The torque must then be counteracted by means of fin movement. The water resistance in this position is high, which is acknowledged with stronger fin movements and higher air consumption. If you then stop kicking, you sag because the additional buoyancy generated by the water current is missing. More air then has to be blown into the vest to compensate. If it goes on again, you climb and have to deflate again. This example shows how trim optimization can have a positive impact on air consumption.
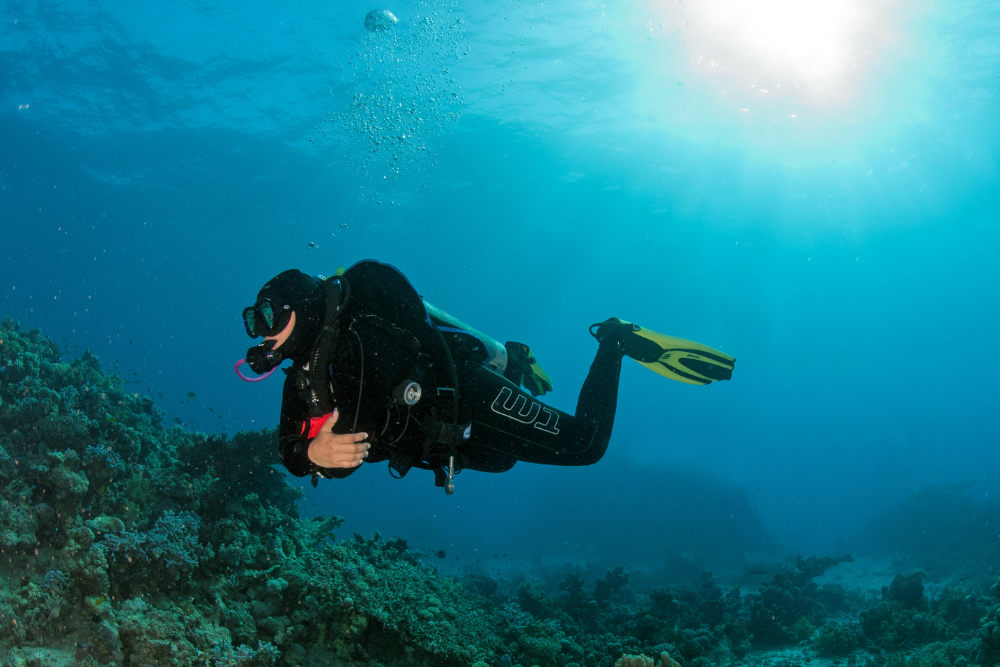
The ideal, relaxed underwater position is horizontal with your knees slightly bent. It reduces the flow resistance when swimming and also the air consumption through less effort. With the fins slightly above the middle of the body, hardly any sediment is stirred up near the bottom. This pose is particularly suitable for the frogkick, which experienced divers like to use because it is less tiring and prone to leg cramps.
For the trimming, the previously determined amount of lead is not changed, but repositioned if necessary. The following variables have an influence on the trimming:
- Body tension
- Position of the weights
- Length, material, position and fill level of the cylinder(s)
- Dive suit
- Fins
- Additional equipment

Trim Check
Neutral tare and in a horizontal position, keep your arms and legs stretched out in a relaxed manner and do not move, breathe calmly. In the case of a dry suit, remove excess air from it beforehand. If the feet sink, the center of mass is behind the center of volume. This can also be a good indication of too much weight as there is a lot of air in the BC.
If legs and feet rise, the center of mass is too far forward. Legs and feet are too light. An almost empty cylinder can also be an indication of not enough lead.
If you tilt to the side, the center of mass is not on the body axis. Either the lead is distributed unevenly or not adapted to the equipment (e.g. stage cylinders, battery tank). In the case of a side mount with two or more cylinders, this is an indication of uneven exhalation.
The faster this tilting movement takes place, the further the center of mass is from the center of the volume. If this movement is very slow, the trimming is sufficiently optimized. This check can be done at the beginning, middle and end of a dive to account for different levels of cylinder(s). Especially aluminum cylinders in the sea like to pull you up towards the end of the dive.
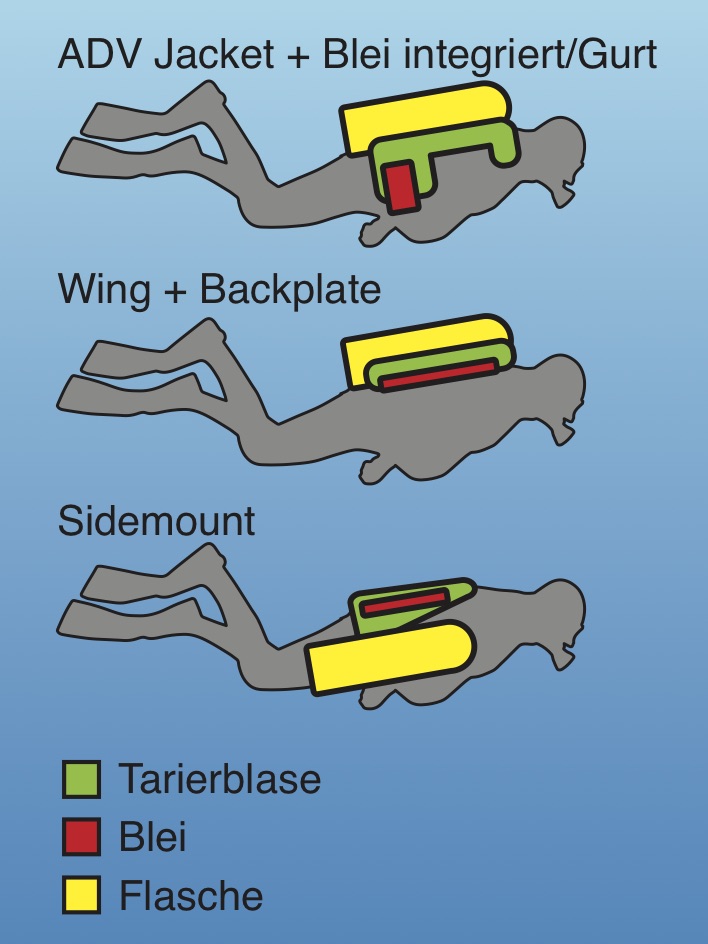
Tips for getting the trim right
Many BCs offer different ways to attach weights. If these are missing, you can also attach trim weight pockets. In general, carry lead as close to the body as possible. Foot weights should be considered a last resort for trimming as sagging feet are not optimal. Even the choice of fins and boots can change the trim.
The choice and positioning of the cylinder(s) also has an influence. If you are a bit top-heavy, try mounting the cylinder(s) a few centimeters further down or try long cylinders instead of short ones. Of course, the cylinder valves should still be accessible and headroom should be guaranteed.
A dry suit can also be used as a full body trim with some skill by positioning the air in the right place. Some use cuffs (gator wraps), which are placed over the dry suit around the shins and prevent too much air from getting into the legs.